
Prepping: How to Actually Start
A calm first-month plan for prepping: the written plan, a basic kit, water and food storage, power, skills and a budget that fits your household.
Last updated September 2026
Contents16
- What prepping means for a normal household
- A four-week plan to start prepping
- Prepping water: the part that matters most
- Prepping food without wasting money
- Prepping for a power outage
- Prepping for medicine, documents, and money
- What prepping actually costs
- Prepping by household type
- Prepping a go-bag for leaving fast
- Prepping for the hazards where you live
- Prepping skills worth learning
- Common prepping mistakes to avoid
- Prepping for kids and skeptical family members
- Keeping your prepping current
- Prepping with neighbors
- When prepping feels overwhelming
Prepping sounds like a big project. Broken into a first month, it is closer to four small habits than one big task. You do not need a bunker, a big budget, or a spare room full of gear. You need a plan, a kit, some stored water and food, and a way to hear the news when the power is out.
Start prepping with a plan, not gear. Week one is meeting places and a contact. Week two is a basic kit built mostly from what you already own. Weeks three and four add stored water, a deeper pantry, and one practiced skill. After that, a short check twice a year keeps it current.
This guide follows the same basics that Ready.gov and the American Red Cross use. It adds the order to do things in and the mistakes that waste money.
What prepping means for a normal household
Prepping is getting ready, ahead of time, for the events most likely to hit your home. For most people that means a storm, a long power cut, a flood, a wildfire, or an earthquake. For some, it also means a job loss or a short supply gap at the store.
The goal is simple. If something goes wrong, your household can stay safe at home for a while, or leave fast with what it needs. Both halves matter. A full pantry does not help if you have to evacuate. A go-bag does not help much during a two-week outage at home.
So prepping has two targets:
- Staying put: enough water and food for a stretch at home, plus medicine and light.
- Leaving fast: a plan, a bag, documents, and a way to reach each other.
Everything else in this guide supports one of those two targets.
A four-week plan to start prepping
The easiest way to start is one small job per week. Each week builds on the one before. Nothing here needs a big shopping trip.
Week 1: write the plan
Write down two meeting places. One is right outside your home, in case of a fire. The other is outside your neighborhood, in case you cannot get back.
Then pick one out-of-area contact everyone will text. Local phone lines can jam in a disaster. A text to someone far away often gets through.
Add your two routes out of the neighborhood, in two different directions. Note who picks up the kids, who grabs the pets, and who checks on an older neighbor or relative. The family emergency plan guide walks through each line.
Week 2: build a basic kit
Check what your household already owns before you buy anything. Most homes already have a flashlight, some batteries, a first aid box, and a few days of shelf food. Pull it into one place, like a plastic tub or a duffel bag.
Then fill the gaps. Ready.gov's build-a-kit list includes water, food, a battery or hand-crank radio, a flashlight, a first aid kit, extra batteries, a whistle, a dust mask, a manual can opener, local maps, and a phone charger with a backup battery. That list is a good base for almost any household.
Week 3: store water and deepen the pantry
Start your water supply this week, since it matters most. Add a few extra cans or boxes of food each time you shop. Aim for food your household already eats, so you can use it and replace it without waste.
Week 4: learn one skill
Pick one practical skill and learn it well. Good first choices are basic first aid, or how to shut off your home's water and gas. One skill you can do under stress beats five you read about once.
Prepping water: the part that matters most
People can go longer without food than without water. That makes water the first thing to get right.
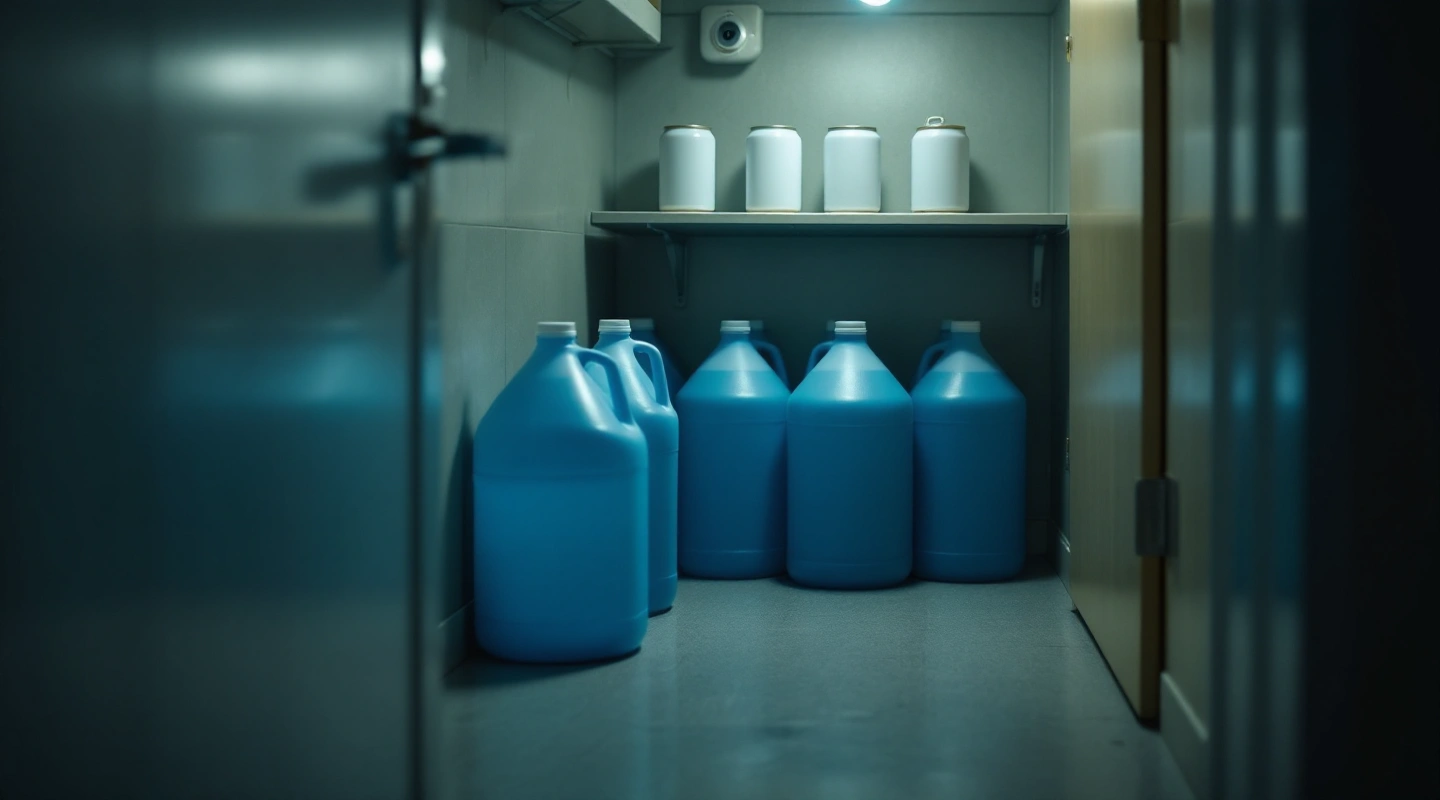
Official guidance uses a simple rule: one gallon per person per day. The American Red Cross supply list suggests a three-day supply for leaving home and a two-week supply for staying put. Add extra for pets, and for anyone who is nursing or sick. People in hot places need more as well.
For a household of four, that works out like this:
- Three days: 12 gallons, enough for a go-bag plan or a short outage.
- Two weeks: 56 gallons, the home goal to build toward over time.
The simplest start is store-bought bottled water, kept sealed in a cool, dark spot. If you fill your own containers, use food-grade ones and follow the CDC's guidance on storing an emergency water supply. That page covers cleaning the containers and how often to replace the water.
A way to treat water is a good backup. A filter or purification tablets can make found water safer if your stored supply runs low. They do not replace storage. They stretch it.
Prepping food without wasting money
Food prepping goes wrong in two ways. People either buy nothing, or they buy a pile of food nobody wants to eat. The fix for both is the same: store what you already eat.
- Pick shelf-stable basics like canned beans and fish, peanut butter, and dry goods such as rice or oats.
- Buy a little extra each trip instead of one big haul. It spreads the cost and keeps dates staggered.
- Put new items in the back and use the older ones first. This keeps the pantry fresh.
- Keep a manual can opener with the food. An electric one is useless in an outage.
- Plan for special diets like baby food, allergy-safe food, or pet food.
A two-week home supply is a real goal most households can reach within a few months of normal shopping. Freeze-dried meals have their place, mostly for go-bags and long shelf life. They are not required to start.
Prepping for a power outage
A long outage is one of the most common events you will actually face. Prepping for it is mostly about light and food safety, plus staying warm or cool.
- Light: flashlights and headlamps with spare batteries. Skip candles when you can, since they are a fire risk.
- Food safety: keep the fridge and freezer doors shut. Ready.gov's power outage page says a closed fridge keeps food cold for about four hours, and a full freezer holds for about 48 hours.
- News: a battery or hand-crank radio keeps you informed when phones die or the network slows down.
- Phones: a charged backup battery pack for each adult.
If you use a generator, follow the safety rules exactly. The CDC's carbon monoxide guidance says never to run a generator inside your home or garage, and to keep it well away from windows and doors. Install a battery carbon monoxide alarm too.
Prepping for medicine, documents, and money
These three are easy to forget until the moment you need them.
- Medicine: keep a list of every prescription and dose. Ask your doctor or pharmacist whether a small spare supply makes sense for you.
- Documents: keep copies of IDs and insurance cards in a waterproof pouch, along with other key papers, plus a digital copy you can reach from any phone.
- Money: keep some cash in small bills. Card readers and ATMs can go down with the power.
- Glasses and hearing aids: a spare pair of glasses and spare hearing aid batteries belong in the kit.
What prepping actually costs
Prepping does not require a large budget. The plan itself is free, and much of a basic kit can come from items a household already owns.
- Free: the written plan, a hazard check through your county, and gathering what you already own into one spot.
- Small budget: a battery or crank radio, extra flashlights, and a few more cans each shopping trip.
- Medium budget: a water filter, food-grade water containers, and a short first aid course.
- Larger budget, over time: backup power, like a small power station, and a longer food supply.
Spend on real gaps first. Gear that looks impressive but does not fix a weak point in your plan is money you could have spent on water.
Prepping by household type
The basics stay the same for everyone. A few households need small additions.
- Renters: keep your kit somewhere you control, like a closet in your unit. Ask the landlord about the building's fire and evacuation plan.
- Apartment dwellers: know your stairwells, since elevators may not run. Store water where you can carry it down stairs if you need to leave.
- Families with kids: pack a small comfort item, some snacks they like, and copies of school pickup contacts.
- Pet owners: plan for a carrier and copies of pet records, plus food and water. Many public shelters and hotels do not allow pets inside. Ready.gov's pet guidance covers what shelters may ask for.
- Older adults: add a written list of health conditions and medicines. Include doctors' numbers and any mobility aid you rely on.
Prepping a go-bag for leaving fast
A go-bag is the leaving-fast half of prepping. It is a smaller kit you can grab in a minute and carry. Keep one per person if you can, or one shared bag per household to start.
A good go-bag holds a few days of water and snacks, a flashlight, a small first aid kit, and a phone charger. Add copies of documents, some cash, a change of clothes, and any daily medicine. Keep it near the door or in the car trunk.
The evacuation plan guide covers when to leave and which routes to use. The bag is what makes a fast exit calm instead of frantic.
Prepping for the hazards where you live
General prepping covers most events. The last step is to match it to your area. A home on the Gulf Coast has different risks from one in California or the Upper Midwest.
Start with your county emergency management website. It lists local hazards, shelter sites, and alert sign-ups. Then learn the two alert words the National Weather Service uses:
- Watch: conditions are right for a hazard to form. Get ready and stay tuned.
- Warning: the hazard is happening or about to happen. Act on your plan now.
Turn on emergency alerts on every phone in the house. Keep a battery or crank radio as the backup, since phones can die and networks can slow down. Then add the one or two items your local hazard needs most. For hurricanes, that may be a way to cover windows. For earthquakes, that may be straps for tall furniture.
Prepping skills worth learning
Gear helps. Skills help more, because they work even when the gear is lost or used up.
- Basic first aid and CPR. A short class from a local group is a good start.
- Shutting off utilities. Know where your water main and gas shutoff are. Only turn off gas if you smell it or officials tell you to, since a utility worker may need to turn it back on.
- Reading alerts. Know the difference between a watch and a warning for the hazards in your area.
- Safe water treatment. Know how to use your filter or tablets before you need them.
- Simple home repair. Covering a broken window with plastic sheeting and tape keeps weather out.
Pick one skill per season. By the end of a year, your household has four real skills.
Common prepping mistakes to avoid
- Buying gear before writing the plan. A full closet does not help if nobody knows the meeting place or the contact number.
- Trying to do everything in one weekend. The four-week pace above works better than a rushed, exhausting single push.
- Storing food nobody eats. It goes out of date, then gets thrown away.
- Forgetting water. Many people stock food first and water last. Flip that order.
- Ignoring pets and older family members. Add their needs into the plan directly, not as an afterthought.
- Never revisiting the plan. A plan matched to last year's household helps nobody today.
Prepping for kids and skeptical family members
Not everyone in a household starts out excited about prepping. Frame it as a normal household habit, like checking smoke alarms, rather than a dramatic project.
Kids often engage better with a hands-on drill than a talk about disasters. Practice the plan like a game, twice a year. Let them help pack their own small part of the kit. A child who knows the meeting place is calmer when the day comes.
For a skeptical adult, start with the cheapest and most useful step: the written plan. Few people argue with knowing where to meet if the phones are down.
Keeping your prepping current
A plan built once and never checked drifts out of date. Pick two dates a year for a short review. The spring and fall clock changes work well, since many people already test smoke alarms then.
At each check:
- Update phone numbers and meeting places.
- Swap out old water and food, and eat the old stock.
- Replace used or dead batteries.
- Check that medicines and documents are current.
- Walk one route out of the neighborhood.
The whole check takes about an hour. It keeps months of work from going stale.
Prepping with neighbors
Prepping does not have to stop at your front door. In a big event, help often comes from the people on your street first, before outside crews can arrive.
Swap phone numbers with two or three nearby households. Note who has a medical need, who lives alone, and who has skills like first aid. Agree to check on each other after a storm or a long outage. None of this costs money, and it makes every household on the street a little safer.
Many areas also run free Community Emergency Response Team (CERT) training through local emergency management. It teaches basic disaster response skills for helping your own neighborhood. Ask your county office if a class runs near you.
When prepping feels overwhelming
It is easy to look at a long checklist and give up before starting. The four-week pace above exists to avoid that trap.
Pick one week's task and stop there. Do not try to read every guide or buy every item at once. A half-finished plan built slowly beats a perfect plan that never gets started.
For the wider picture of how prepping fits into a full household plan, the evacuation and family plans hub links every guide in this section, and the emergency preparedness guide covers the four-part base behind it.
Questions people also ask
What is the very first thing to do when starting to prep?
Write down two meeting places and one out-of-area contact. This single step matters more than any item you could buy, and it costs nothing.
How much money do I need to start prepping?
Very little. A written plan is free, and a basic kit can come mostly from items most households already own. Spend on real gaps only, over time.
How long does it take to build a basic prepping routine?
About a month for the core pieces: a plan, a starter kit, a deeper pantry, and one practiced skill. After that, it becomes a twice-a-year check rather than ongoing work.
How much water should I store when prepping?
Official guidance uses one gallon per person per day. The American Red Cross suggests a three-day supply for leaving home and a two-week supply for staying put. Add extra for pets.
Is prepping the same as being a prepper?
They describe the same habit from two angles. Prepping is the activity. A prepper is someone who does it. There is no formal line between casual prepping and calling yourself a prepper.